Telephone: +44 (0)1377 267426 | Email: info@cambraicovers.com
How to Fit your Cambrai Cover -
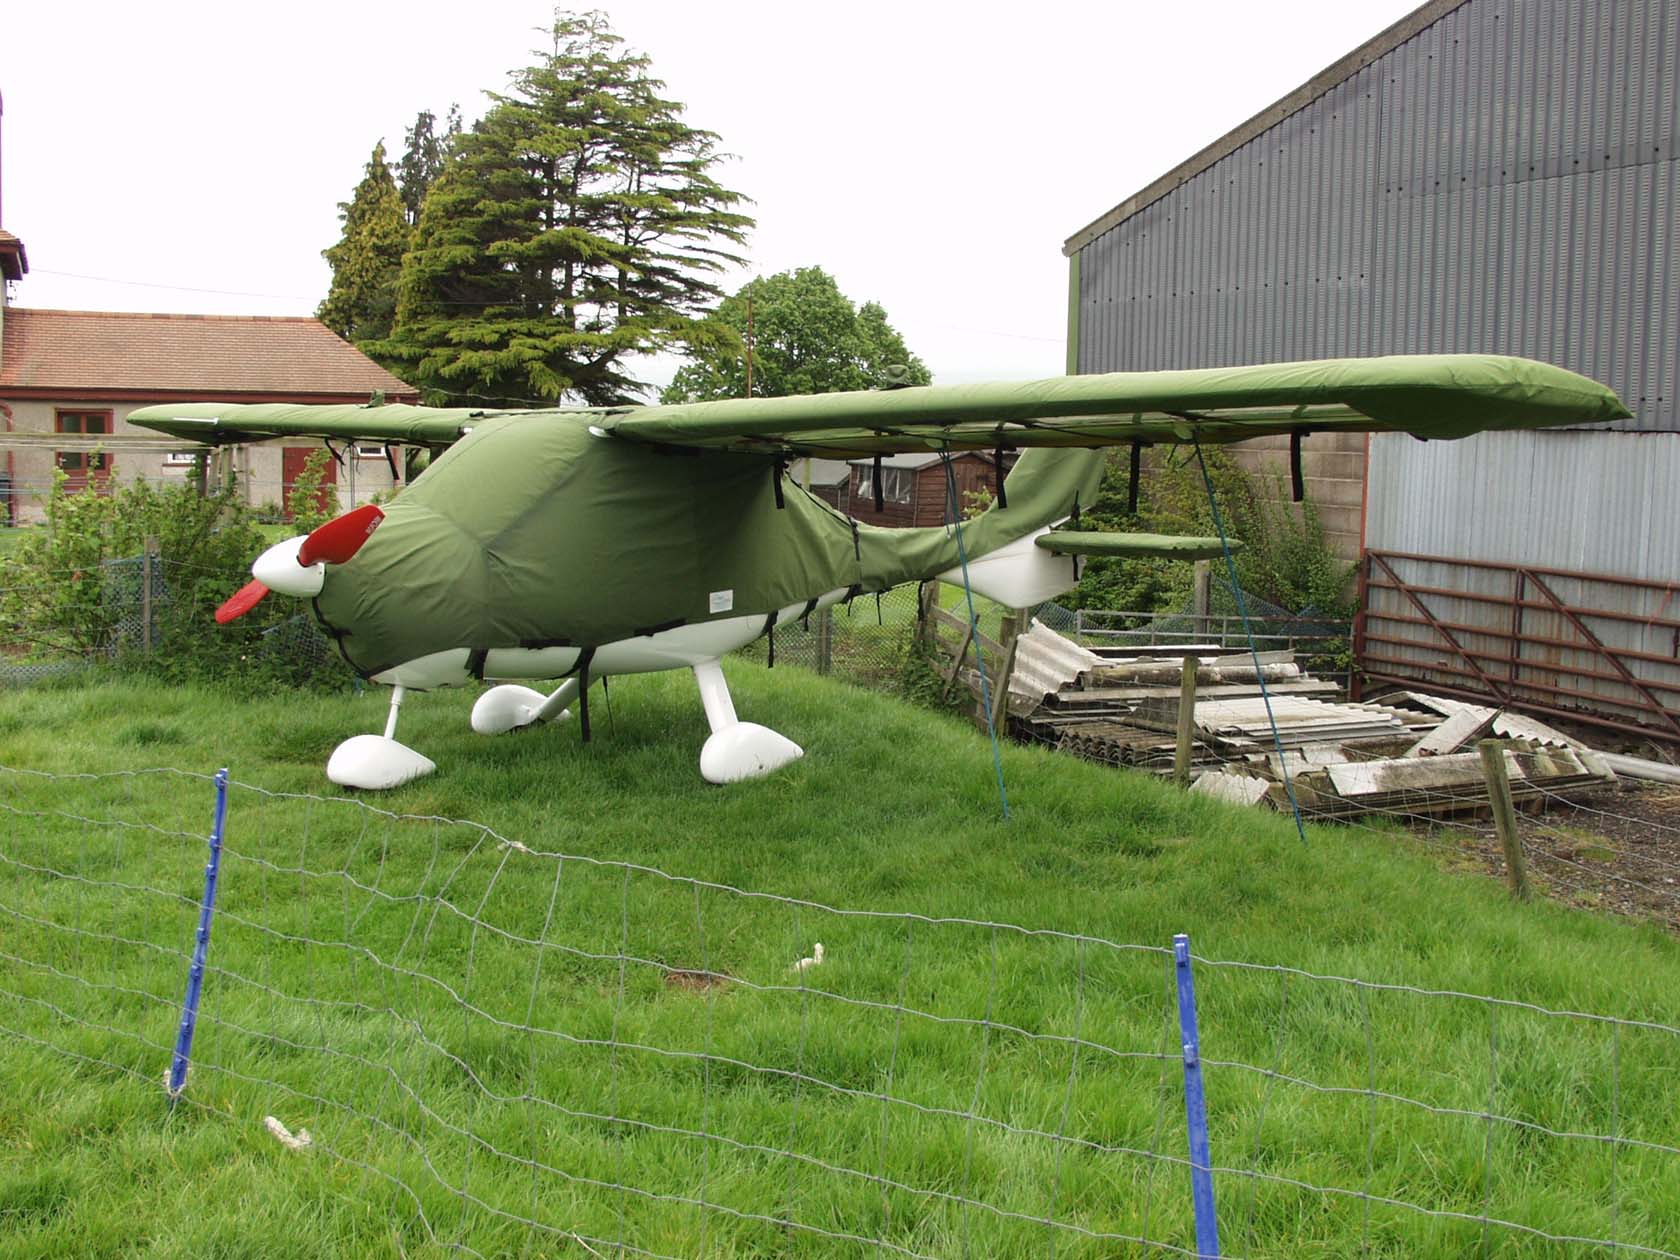
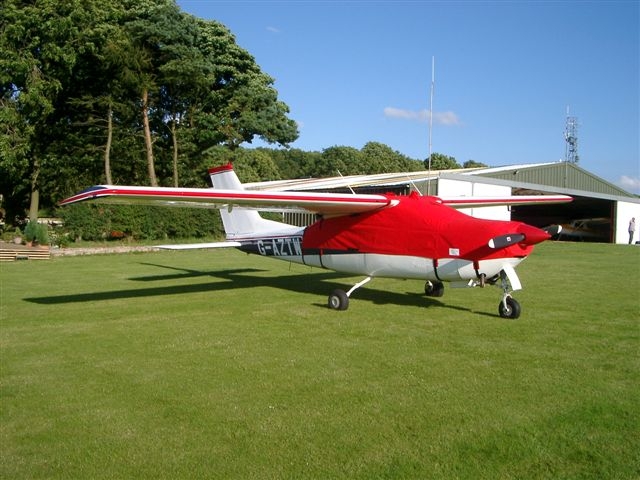
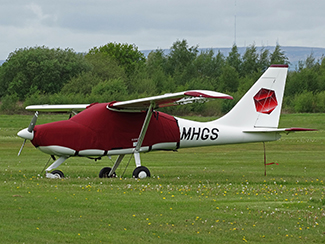
High Wing, Single Engine Aircraft...
Your Cambrai Cover has been Manufactured with the Utmost Care and Attention to Detail.
Correct fitting will greatly enhance the effectiveness of you cover and increase its life span...please read on...
These few simple notes and a little practice will help you to fit and remove your cover in the shortest possible time and to spot any potential problems before they become serious...
1. Lift the cover out of the storage bag and pile the cover on top of the engine cowling. locate the front of the cover - the engine cowl has the circular hole for the spinner and our label. Unroll enough of the cover to allow the cowling section to be fastened under the spinner. Attach the Velcro under the spinner but do not fasten the buckle at this time.
2. Continue to unroll the cover until the separate roof and under wing panels are visible. Separate the Velcro join on these two panels and throw the centre roof panel onto the roof of the aircraft.
3. Next, fit the allowances for any aerials and probes fitted to the roof and windscreen of the aircraft. It is of the utmost importance that windscreen mounted OAT probes are not pulled as this may well damage the windscreen!
4. Pass the under wing panel along the side to the back of the aircraft until the trailing edge of the wing is reached. Fasten the Velcro and buckles that join the roof panel to the top rear edge of the side panel. The straps should be just tight enough to prevent the Velcro from tearing open, and should not pull a tuck into the fabric.
5. Fasten the rearmost strap under the aircraft and adjust the cover so that the centre seam runs straight down the centreline of the aircraft. Pull the cover back as far as it will go without pulling on the aerials or OAT probe and then fully tighten the back strap.
6. Fit and tighten the remaining under-aircraft straps.
7. Fit the buckle under the spinner and Tighten the strap. This buckle can now be left in this adjustment permanently.
8. The side panels are fitted with tensioning straps at the centre top and base hems. If required any residual slack in the side panels can be adjusted out by pulling a small pleat into the fabric at this point. The cover should now fit the aircraft smoothly, without any loose areas or wrinkles, or undue tightness in any area.
Oh, and one last thing...Always return the cover to the storage bag supplied when not on the aircraft! This will prevent damage and contamination...and Mice!!
Correct fitting will greatly enhance the effectiveness of you cover and increase its life span...please read on...
These few simple notes and a little practice will help you to fit and remove your cover in the shortest possible time and to spot any potential problems before they become serious...
1. Lift the cover out of the storage bag and pile the cover on top of the engine cowling. locate the front of the cover - the engine cowl has the circular hole for the spinner and our label. Unroll enough of the cover to allow the cowling section to be fastened under the spinner. Attach the Velcro under the spinner but do not fasten the buckle at this time.
2. Continue to unroll the cover until the separate roof and under wing panels are visible. Separate the Velcro join on these two panels and throw the centre roof panel onto the roof of the aircraft.
3. Next, fit the allowances for any aerials and probes fitted to the roof and windscreen of the aircraft. It is of the utmost importance that windscreen mounted OAT probes are not pulled as this may well damage the windscreen!
- a. Separate the 'Velcro' OAT patch and fit the square hole centrally over the OAT probe.
- b. Pass the cover over the roof, fitting the windscreen OAT probe (if fitted) as you go, and fit the cover around any roof mounted VHF type aerials and around the long wire ADF aerial (if fitted).
4. Pass the under wing panel along the side to the back of the aircraft until the trailing edge of the wing is reached. Fasten the Velcro and buckles that join the roof panel to the top rear edge of the side panel. The straps should be just tight enough to prevent the Velcro from tearing open, and should not pull a tuck into the fabric.
5. Fasten the rearmost strap under the aircraft and adjust the cover so that the centre seam runs straight down the centreline of the aircraft. Pull the cover back as far as it will go without pulling on the aerials or OAT probe and then fully tighten the back strap.
6. Fit and tighten the remaining under-aircraft straps.
7. Fit the buckle under the spinner and Tighten the strap. This buckle can now be left in this adjustment permanently.
8. The side panels are fitted with tensioning straps at the centre top and base hems. If required any residual slack in the side panels can be adjusted out by pulling a small pleat into the fabric at this point. The cover should now fit the aircraft smoothly, without any loose areas or wrinkles, or undue tightness in any area.
That's It! The cover will remain in this position when correctly fitted!
Oh, and one last thing...Always return the cover to the storage bag supplied when not on the aircraft! This will prevent damage and contamination...and Mice!!
Cambrai Covers have a wide range of Capabilities:
Fabric Covers for Canopies, Engines, Tyres
Proven scratch-prevention Canopy linings
Engine Covers, Blanks, Plugs & Bungs
"Duramould" Rubber Blanks and Protectors
Fully-Bonded Vapour-proof Covers
Active VpCI Anti-Corrosion Covers and Surface Treatments